
Can’t connect to this network is one of the most common network issue faces by Window 10 users. Luckily the solution for Windows 10 can’t connect to this network is also very simple that anyone can solve this.
To fix, Windows 10 can’t connect to this network; you just need to perform some simple tweaks mentioned below. Sometimes a simple restart fixes the problem, if not check all the solution listed below and get connected to the internet once again.
How To Fix Windows 10 Can’t Connect To This Network
If you are unable to connect to a network on Windows 10 and looking for the solution, this post will end your search.
Method 1: Forget the network
- If you are unable to connect to a wireless network, the first thing you need to do is remove that WiFi network from your history/ or forget it. To do that you need to follow the simple procedure given below.
- Go to the setting of your PC and then choose Network & Internet option and go to the WiFi tab, there click on Manage known networks.
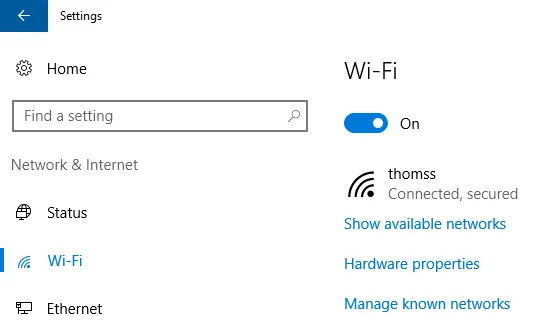
- There you’ll see all the previously connected network, now click on the network name you are unable to connect and then click on Forget button.
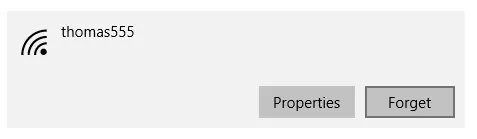
- After clicking on forget, the network will disappear from the history and will be available as a new network. Now all you need to do is go to the available network and after clicking on the network name connect it.
Method 2: Uninstall network adapter
If the first method unable to fix Windows 10 can’t connect to this network, you can try uninstalling your network driver.
To uninstall your network driver, go to the Device Manager option, press Windows Key+X and then choose device manager.
From there, locate your network driver and right click on it to get the uninstall option.
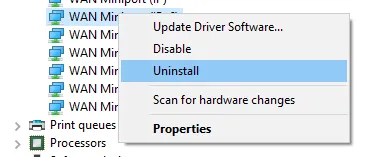
After uninstalling your network driver, restart your computer, and it will automatically start downloading and installing the latest driver.
Method 3: Update network drivers/ adapter
There is a free and straightforward process to update or install all the necessary drivers on your computer. Most of the driver analyzer software asks for license and to get the license you need to pay with real cash. Some days ago I published how you can get all the necessary HP drivers for your HP laptop or PC, following the same method you will get necessary drivers for other laptops also.
There is also a different method available to get the software updates.
Check for updates
This process is simple and straightforward. At first, you need to go to the settings of your PC and then choose the Update & security option. Now go to Windows Update tab and check if any update pending there. If you are unable to download the updates, make sure your internet connection is not set as metered connection.
From Device Manager option
At 1st go to the device manager option, by clicking Windows Key+X and then choose device manager option. From the device manager option, go to network drivers and right click on them. Now select the update driver software option and in next window click on search automatically for updated driver software.
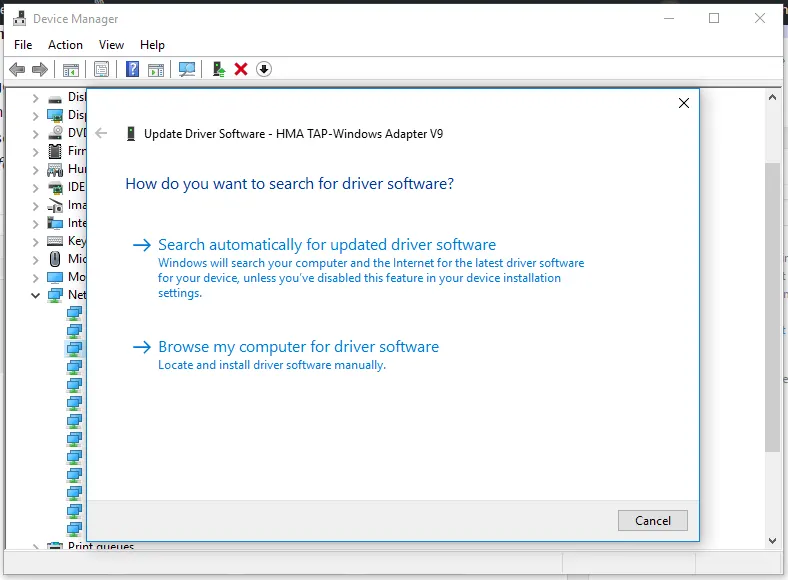
These are the necessary steps to fix Windows 10 can’t connect to this network problem before or after anniversary update.
Most of the time the 1st method works for me, if not you can try the other methods to fix Windows 10 can’t connect to this network and if you are still facing problem with connection to the network, leave a comment below and we will find the fix for you.

Leave a Comment